Stitches & Techniques
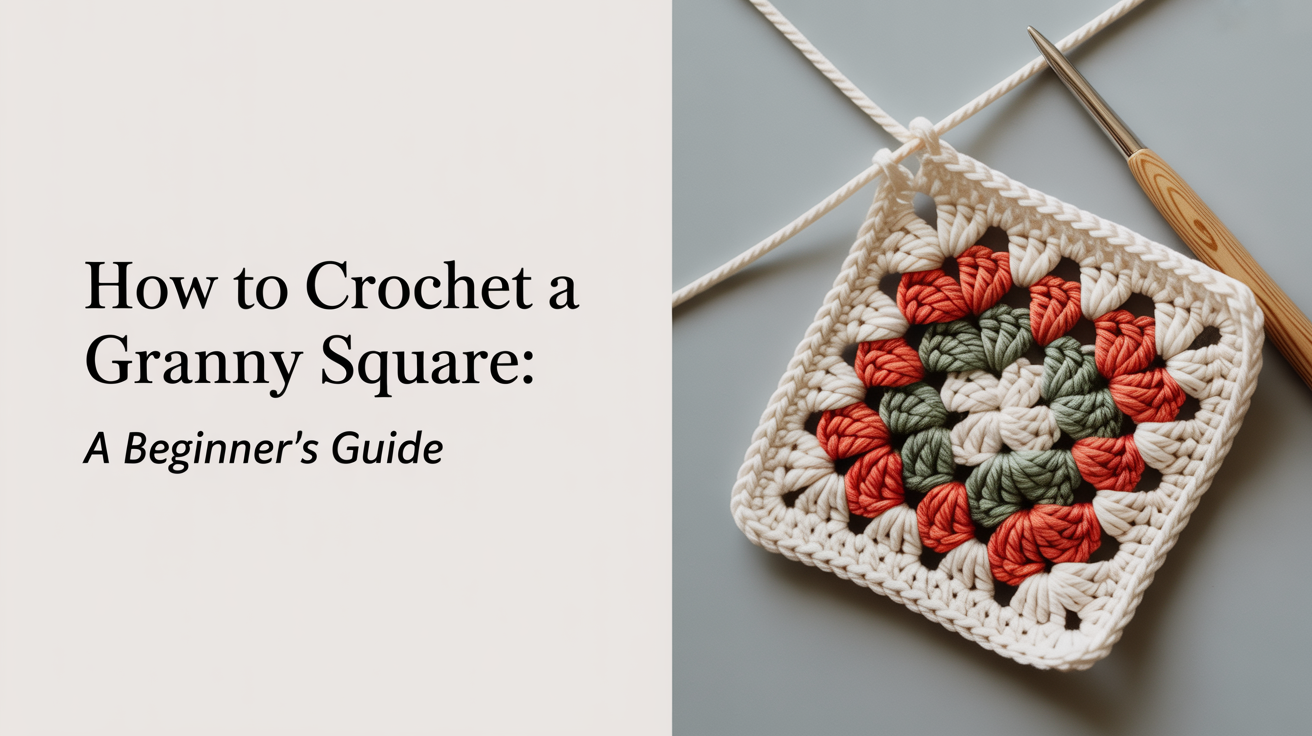
How to Crochet a Granny Square: A Beginner's Guide
Learn how to crochet a granny square step by step. This beginner-friendly guide covers the magic ring, three rounds, color changes, and joining.
The granny square is one of the most satisfying things you can make with a crochet hook. A single square takes about 20 minutes once you know the steps, and a stack of them becomes a blanket, a bag, a pillow cover, or anything else you can imagine. This guide walks you through a classic three-round granny square, with written instructions for every stitch.
No prior crochet experience required. If you can chain and do a basic double crochet, you are ready.
What You Need
- Yarn: Any worsted-weight (size 4) yarn works well for a first attempt. Cotton or acrylic both behave nicely.
- Hook: A US size 5mm (H-8) hook. Check your yarn's label, but 5mm suits most worsted yarn.
- Scissors and a yarn needle: For weaving in the ends when you finish.
- Optional: Two or three different yarn colors to practice color changes.
A finished square with worsted yarn on a 5mm hook will measure roughly 5 to 6 inches across after three rounds.
Understanding the Stitches
Before starting, here is a plain-language reminder of the three stitches this pattern uses.
Chain (ch)
Yarn over, pull through the loop on your hook. One chain made.
Double Crochet (dc)
Yarn over, insert hook into the stitch, yarn over and pull up a loop (three loops on hook), yarn over and pull through two loops, yarn over and pull through the last two loops. One double crochet made.
Slip Stitch (sl st)
Insert hook into the stitch, yarn over, pull through both the stitch and the loop already on your hook in one motion. This is a joining stitch with almost no height.
What Is a Cluster?
In a granny square, the main building block is a cluster of 3 double crochets worked into the same space. Think of it as three dc stitches bundled together. Clusters fill the sides of the square; chain-2 spaces create the corners.
How to Start: The Center Ring
Every granny square starts with a center ring. The two most common methods are a magic ring and a chain-4 join. Either works fine.
Magic Ring Method
Make a loop with your yarn, keeping the tail end on top. Insert your hook through the loop, catch the working yarn, and pull up a loop. Chain 3 (this counts as your first double crochet). Work all of Round 1 into the center of this ring, then pull the tail to close the hole tight before moving on.
Chain-4 Join Method
Chain 4. Insert your hook into the very first chain you made (not the one on the hook), slip stitch to join into a ring. You now have a small circle. Chain 3 and begin Round 1 by working into the center of that ring.
Either method gives you the same starting point: an open ring with a chain-3 ready to go.
The Pattern: Round by Round
Work in a well-lit spot and try not to rush. Each round builds on the last, and the corner ch-2 spaces are what make the square its shape.
Abbreviations used:
- ch = chain
- dc = double crochet
- sl st = slip stitch
- sp = space
- rep = repeat
Round 1: The Center Cluster
Stitch count: 4 clusters, 4 ch-2 corners
- With your starting ring in place and ch-3 done (counts as first dc), work 2 more dc into the ring. (One cluster complete.)
- Ch 2. (First corner made.)
- Work 3 dc into the ring. Ch 2.
- Work 3 dc into the ring. Ch 2.
- Work 3 dc into the ring. Ch 2.
- Sl st into the top of the ch-3 from the beginning to join the round.
You now have a small plus-sign shape with four clusters and four open corner spaces.
Round 2: Growing the Square
Stitch count: 8 clusters, 4 ch-2 corners
Round 2 adds one cluster on each side between the corners and keeps the corner spaces defined.
- Sl st into the next 2 dc and into the ch-2 corner space.
- Ch 3 (counts as first dc), work 2 dc into the same corner space, ch 2, work 3 dc into the same corner space. (One corner complete: two clusters with a ch-2 between them.)
- Ch 1.
- Into the next ch-2 corner space: work 3 dc, ch 2, 3 dc. Ch 1.
- Repeat step 4 two more times for the remaining two corners.
- Sl st into the top of the ch-3 to join.
After Round 2 you have two clusters in each corner and one ch-1 gap between corners. The square shape is clearly visible now.
Round 3: The Classic Three-Round Granny Square
Stitch count: 12 clusters, 4 ch-2 corners
Round 3 adds a second side cluster between each corner, completing the look most people recognize as a "granny square."
- Sl st into the next 2 dc and into the ch-2 corner space.
- Ch 3, 2 dc into same corner sp, ch 2, 3 dc into same corner sp. (Corner done.)
- Ch 1. Work 3 dc into the next ch-1 sp (the gap between the two corner clusters from Round 2). Ch 1.
- Into the next ch-2 corner sp: 3 dc, ch 2, 3 dc. Ch 1.
- Work 3 dc into the ch-1 sp. Ch 1.
- Repeat steps 4 and 5 for the remaining two corners.
- Sl st into the top of the ch-3 to join.
Fasten off and weave in your ends with the yarn needle.
Changing Colors Between Rounds
Color changes are one of the best things about granny squares. The seam where you fasten off and rejoin is barely visible because it falls in a corner.
How to Switch Colors
- Complete a round and sl st to join.
- Fasten off by cutting the yarn about 6 inches from the work and pulling the tail through the loop on your hook.
- With your new color, make a slip knot and place it on your hook.
- Insert your hook into any ch-2 corner space, pull up a loop of the new color, chain 3, and start the next round as normal.
You can use a different color for every round, alternate two colors, or keep one color throughout. There is no wrong choice.
Tips for Tidy Color Changes
- Always join new yarn in a corner space, not mid-side. The corner hides the knot better.
- Leave tails of at least 6 inches so you have something to weave in securely.
- Weave each end through stitches in multiple directions (forward three stitches, back two) before trimming. This stops them from working loose over time.
Joining and Finishing Your Squares
Once you have a collection of squares, you can join them in several ways. The two most popular methods for beginners are the slip stitch join and the whip stitch join.
Slip Stitch Join (Creates a Raised Seam)
Hold two squares with wrong sides together. Insert your hook through both layers at a corner, join yarn, and sl st through every matching stitch or space along the edge. This leaves a visible ridge on the right side, which many people find decorative.
Whip Stitch Join (Flat Seam)
Thread a yarn needle. Hold two squares with right sides facing or wrong sides together (your choice changes how the seam looks). Pass the needle through the back loops of matching stitches along one edge, working in a spiral motion. Pull snug but not tight. This seam sits flatter than the sl st join.
For a blanket, lay out your squares on the floor first to plan the arrangement, then join in rows. Sew all the horizontal seams first, then connect the rows with vertical seams.
Frequently Asked Questions
Why does my square look more like a circle?
The most common reason is skipping the ch-2 corner spaces. Without them, the fabric has no corners and curls into a round shape. Check that you are working "3 dc, ch 2, 3 dc" into each corner space on every round, not just "3 dc, 3 dc."
My square curls up. What am I doing wrong?
Curling usually means the tension is too tight. Try loosening your grip on the yarn, or go up half a hook size. Granny squares should lie flat naturally; blocking (dampening the finished square and pinning it flat to dry) also helps.
Can I make the square bigger?
Yes. Just keep adding rounds using the same logic: two clusters in each corner (with ch-2 between them) and one additional side cluster per round per side. Every new round adds one more cluster on each of the four sides.
What is blocking, and do I need to do it?
Blocking means lightly dampening your finished square (spray it with water or soak briefly, then squeeze out excess moisture) and pinning it to a foam mat in its intended shape while it dries. Cotton yarn benefits the most. Acrylic can be blocked with steam from an iron held a few inches above the surface. Blocking is optional but makes squares easier to join because the edges line up evenly.
How many squares do I need for a blanket?
It depends on the finished size you want. A lap blanket typically uses 25 to 36 squares arranged in a 5x5 or 6x6 grid. A full throw might use 64 squares in an 8x8 grid. Make a test square, measure it, then calculate from there.
What to Make Next
Once you are comfortable with the basic granny square, the next steps open up quickly. You can add rounds to make larger squares, experiment with color placement, or start joining squares into your first blanket. If you want to keep building your stitch vocabulary, check out our guides on how to knit ribbing (knit 1, purl 1) for beginners, increases and decreases in knitting explained, and how to knit in the round for beginners.
The granny square is worth learning well. A stack of them, joined neatly, turns into something you will actually want to use and keep.