Stitches & Techniques
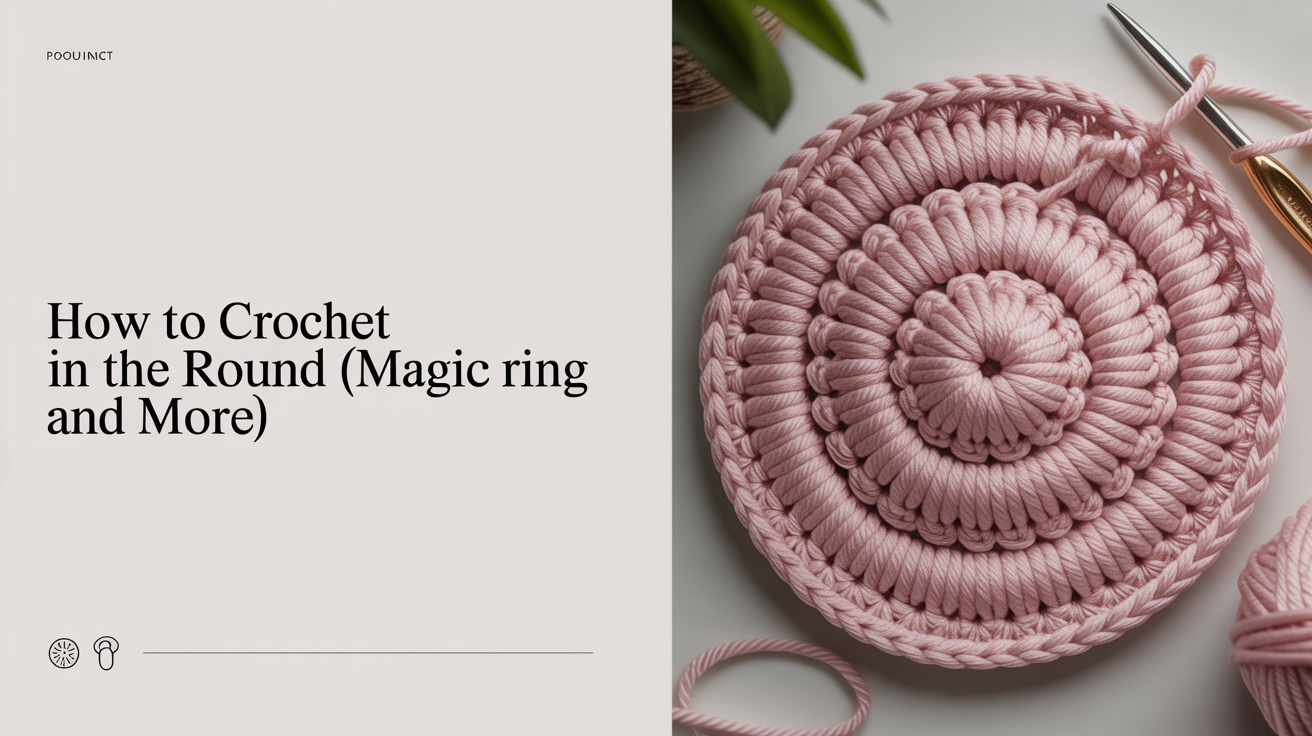
How to Crochet in the Round (Magic Ring and More)
Learn how to crochet in the round using the magic ring and chain ring methods. Step-by-step guide for beginners making circles, hats, and motifs.
Crocheting in the round opens up a whole world of projects: hats, beanies, amigurumi, granny squares, baskets, and coasters all start with a simple center ring and grow outward. Instead of working back and forth in rows, you travel around in a circle, which means no seams down the side and a naturally tubular shape.
The two most common ways to start a round are the magic ring (also called the magic circle or adjustable loop) and the chain ring (a short foundation chain closed into a loop). This guide walks through both methods step by step, explains how to work your rounds without losing count, and covers the fixes for the most common problems beginners run into.
The Magic Ring Method
The magic ring is the preferred starting point for most crochet-in-the-round projects because it closes to a nearly invisible center with zero gap. It takes about five minutes to get comfortable with the hand position, and once it clicks, you will use it constantly.
What you need: yarn, your hook, and both hands.
Steps:
- Hold the yarn tail between your thumb and middle finger, with about a 6-inch tail hanging down. Wrap the working yarn (the yarn coming from the ball) over your index finger and then loop it back around the tail end, creating an X where the two strands cross.
- Pinch the X between your thumb and middle finger to hold it. You now have a loop.
- Insert your hook into the loop from front to back, catch the working yarn, and pull it through the loop. This is your first chain stitch (ch 1). Do not tighten it yet.
- Work the number of stitches your pattern calls for directly into the loop, inserting the hook into the ring each time and catching both strands (the loop itself and the yarn tail beneath it).
- Once all stitches are made, gently pull the yarn tail to close the center hole. Pull until the gap disappears, then tug the tail once more to snug the ring firmly.
- Join with a slip stitch (sl st) to the first stitch if your pattern uses joined rounds, or simply continue working into the next stitch if you are working in a spiral.
A typical pattern might say: "Magic ring, ch 1, sc (single crochet) 6 into ring, pull to close, sl st to first sc." That gives you a flat circle with six stitches in round 1 and a tight, closed center.
The Chain Ring Method
The chain ring is the beginner-friendly alternative. It leaves a small center hole, which can actually be an advantage for designs like open granny squares where an airy center is part of the look.
Steps:
- Make a short foundation chain, typically 4 or 6 chains (ch 4 or ch 6) depending on your pattern.
- Insert your hook into the very first chain you made (the one farthest from your hook), catch the yarn, and pull through both loops on the hook. You have now made a slip stitch and formed a ring.
- Work your stitches into the center of the ring, not into individual chain loops. Push the hook through the hole each time.
- Join and close as your pattern directs.
The chain ring is predictable and forgiving, making it a good choice while you are still building muscle memory. Once you feel confident, switching to the magic ring gives you a cleaner look on hats and toys.
Joined Rounds vs. Continuous Spiral
When crocheting in the round, patterns use one of two structures: joined rounds or a continuous spiral (also called working in the round without joining). Knowing which one your pattern uses changes how you count and where you place your hook.
Joined rounds: At the end of each round, you work a slip stitch into the top of the first stitch (or into the top of the turning chain), then make a turning chain to start the next round. This creates a visible "seam" where the rounds meet, but it also gives you a clear starting and ending point, which makes counting easier.
Continuous spiral: You simply keep going without ever joining or making a turning chain. Rounds flow into one another with no break. This is the standard method for amigurumi and seamless hats. The catch is that the beginning of each round can get hard to track. Use a stitch marker (a loop of scrap yarn works fine) clipped into the first stitch of each round, moving it up every time you return to it.
If your pattern says "join with sl st at end of round" you are in joined territory. If it says "place marker, work in continuous rounds" you are in spiral territory. When a pattern is not explicit, hats and toys are usually worked in a spiral, while flat motifs and granny squares are usually joined.
Working Increases to Make a Flat Circle
The key mechanic behind crocheting a flat circle (as opposed to a tube or bowl shape) is regular increases: working two stitches into the same stitch to add circumference each round. Without increases, your circle will curl up into a cup. With too many, it will ruffle at the edges.
For single crochet (sc) circles, the standard formula adds 6 stitches every round:
- Round 1: 6 sc in ring (6 stitches total)
- Round 2: 2 sc in each stitch around (12 stitches total)
- Round 3: [sc, 2 sc in next st] repeat 6 times (18 stitches total)
- Round 4: [sc, sc, 2 sc in next st] repeat 6 times (24 stitches total)
The pattern is: each round adds 6 stitches, distributed evenly. You can keep going as long as your circle needs to be, adding one more plain sc between each increase point per round.
If your circle is cupping or forming a bowl, add more increases. If it is ruffling or has excess fabric, you have too many. Gauge also plays a role here, so crocheting a test swatch before a project that needs to fit a specific size is worth the time.
For more on how increases and decreases shape your work, the same math principles apply in knitting too. You can read about them in the context of knitting in increases and decreases in knitting explained.
Making a Tube: Crocheting in the Round Without Increases
Tubes and cylinders come from crocheting in the round with no increases at all. Once your circle is the width you want, stop increasing and just crochet one stitch into each stitch each round. This is the basic structure of a hat body, a basket, or the body of an amigurumi animal.
The same technique applies in knitting on circular or double-pointed needles. If you are curious how the two crafts compare, how to knit in the round for beginners covers the knitting equivalent in detail.
For hat brims and finished edges, a row of slip stitches or single crochet worked into the outer loops gives a clean border. Knitters often use ribbing (alternating knit and purl) for the same purpose, which you can read about in how to knit ribbing (knit 1, purl 1) for beginners.
Counting Stitches and Keeping Track
One of the most common mistakes when crocheting in the round is losing count and ending up with the wrong number of stitches. A few habits keep this from derailing your project:
- Place a stitch marker in the first stitch of every round when working in a spiral. When you reach it again, you have completed one round. Remove it, work the stitch, then place it back in the new stitch just made.
- Count after each round, not after each stitch. Counting mid-round introduces errors. Finish the round, then count all the stitches in that completed round.
- Use physical markers for every 10th stitch on very large rounds. A slip of yarn or a split-ring marker in every 10th stitch means you count in small blocks rather than one long number.
- Write down your stitch count after each round, especially on long projects. A sticky note or a line in your phone notes app takes seconds and saves you from ripping back three rounds to find an error.
Frequently Asked Questions
Can I use any stitch when crocheting in the round, or only single crochet?
You can use any stitch. Double crochet (dc), half double crochet (hdc), treble crochet (tr), and combinations of stitches all work in the round. Taller stitches produce more fabric per round, so the increase formula changes. For double crochet flat circles, the standard starting count is 12 stitches in round 1 and 6 additional stitches per subsequent round.
What does "sl st to join" mean, and can I skip it?
A slip stitch join (sl st to join) closes the round by connecting the last stitch back to the first. Skipping it means your round does not close, so you are effectively working in a spiral whether you meant to or not. Follow your pattern on this. If it calls for joined rounds, the join is part of the stitch count and the structure of the piece.
My circle is cupping into a bowl shape. What went wrong?
You are likely not increasing enough, or your tension is tighter than the pattern assumes. Try adding one extra increase per round, or sizing up your hook by half a millimeter. A slightly looser grip on the working yarn also relaxes tension over several rounds.
How do I switch colors when crocheting in the round?
At the end of the last stitch before the color change, pull through with the new color instead of the old one. For joined rounds, carry the old color to the join stitch, then switch. Weave in both tails securely on the inside of the work when finished.
Is a magic ring the same thing in UK and US crochet terms?
Yes. The magic ring (also called magic circle or adjustable ring) is the same technique regardless of whether you are following US or UK terminology. The difference between US and UK terms applies to stitch names (US single crochet is UK double crochet, for example), but the starting ring method itself has no alternate UK name.