Projects & Patterns
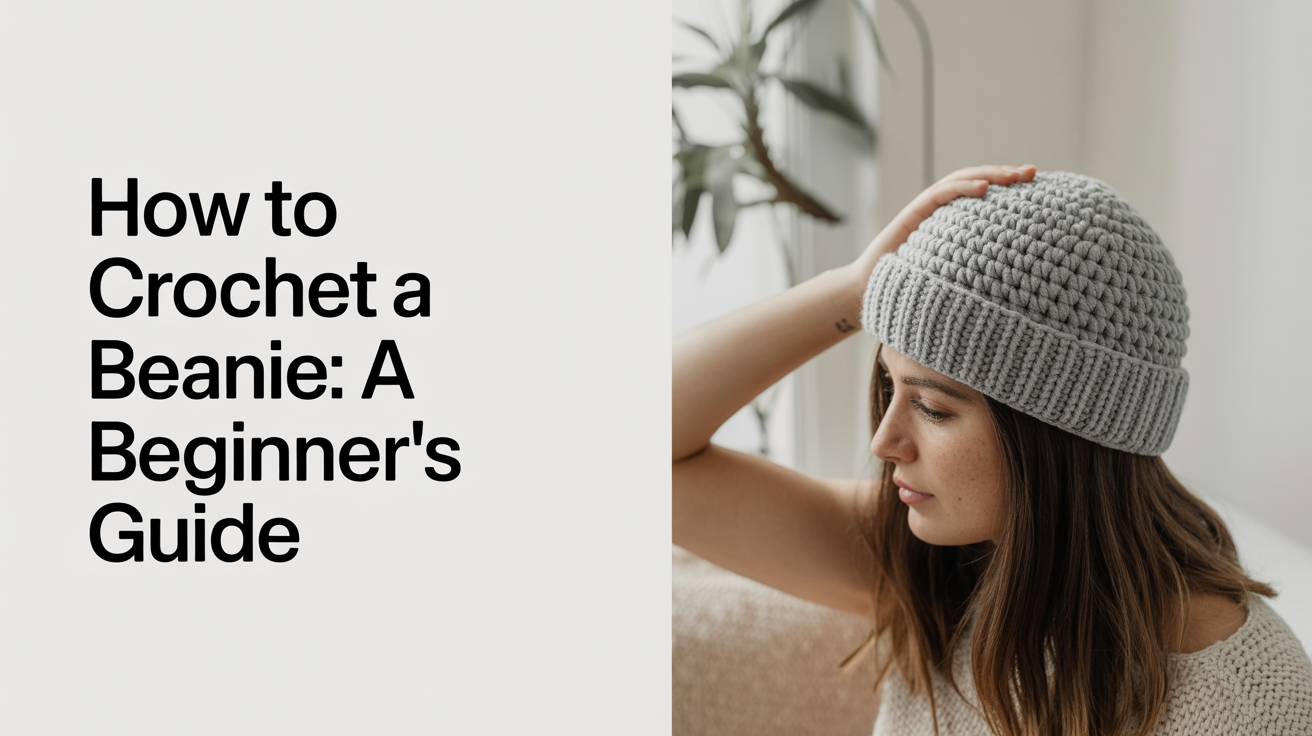
How to Crochet a Beanie: A Beginner's Guide
Learn how to crochet a hat from the top down with a magic ring. Step-by-step beginner crochet beanie guide with a sizing table and FAQ.
A beanie is one of the most satisfying first crochet projects. It is small enough to finish in a weekend, useful enough to wear right away, and it teaches you the skills you will use in almost every project after this one. If you have already made something flat like a dishcloth, working in the round feels like a natural next step.
This guide walks you through crocheting a hat for beginners from the very top down. You will start with a magic ring, work increase rounds to build the crown, crochet a straight body, and finish with a brim. All abbreviations are spelled out on first use and use US terminology.
What You Need Before You Start
Materials:
- Worsted weight yarn (about 100 to 150 yards for an adult hat)
- 5 mm (US H/8) crochet hook, or the size suggested on your yarn label
- Stitch marker
- Yarn needle for weaving in ends
- Scissors
A note on gauge: Gauge means how many stitches and rows fit into a 4-inch square at your tension. For this pattern, a typical target is 14 single crochet (sc) stitches and 16 rows over 4 inches with a 5 mm hook and worsted yarn. Your gauge may differ, and that is fine for a hat as long as you check it before you cut a lot of yarn. Knit a small swatch, measure it, and adjust your hook size up or down if needed. Going up a hook size makes bigger stitches; going down makes smaller ones.
If you have not read a pattern before or feel unsure about any abbreviations, this beginner's guide to reading crochet patterns covers all the basics.
Sizing and Gauge Reference
Different head sizes need different crown widths and body lengths. Use this table as a starting point, then try the hat on as you go.
| Size | Finished Circumference | Crown Width (flat) | Body Length | Brim Depth |
|---|---|---|---|---|
| Baby (0-12 mo) | 14 in / 36 cm | 4.5 in / 11 cm | 4 in / 10 cm | 1 in / 2.5 cm |
| Toddler (1-3 yr) | 17 in / 43 cm | 5.5 in / 14 cm | 5 in / 13 cm | 1.5 in / 4 cm |
| Child (4-12 yr) | 19 in / 48 cm | 6 in / 15 cm | 6 in / 15 cm | 1.5 in / 4 cm |
| Adult S/M | 21 in / 53 cm | 6.75 in / 17 cm | 7 in / 18 cm | 2 in / 5 cm |
| Adult L/XL | 23 in / 58 cm | 7.5 in / 19 cm | 7.5 in / 19 cm | 2 in / 5 cm |
These measurements assume the finished hat has about 1 to 2 inches of negative ease, meaning the hat is slightly smaller than the actual head so it stretches to fit snugly.
Step 1 -- The Magic Ring and Crown
The crown is the circular top of the hat. You build it by starting at the center and increasing outward until the flat circle reaches the right width for your size.
Make the magic ring:
- Drape the yarn over your left hand so the tail hangs down and the working yarn (attached to the ball) goes over your index finger.
- Wrap the working yarn around your finger twice to form a loop.
- Insert your hook through the loop, yarn over (yo) and pull up a loop, then chain (ch) 1 to secure. This is your adjustable ring.
Round 1: Work 6 single crochet (sc) into the ring. Pull the tail end gently to close the center hole. Place a stitch marker in the last stitch so you know where the round ends.
Round 2 (first increase round): Work 2 sc in each stitch around. You now have 12 stitches.
Round 3: sc in next stitch, 2 sc in next stitch repeat around. You now have 18 stitches.
Round 4: sc in next 2 stitches, 2 sc in next stitch repeat around. You now have 24 stitches.
Continue this pattern, adding one plain sc between increases each round. Each increase round adds 6 stitches. Keep going until your flat circle matches the crown width for your size in the table above. For an adult S/M hat, this is usually 7 rounds (42 stitches total).
Move your stitch marker up at the end of each round so you always know where you are.
Step 2 -- The Even Body
Once your crown circle is the right width, you stop increasing and crochet straight down to form the sides of the hat.
Work sc in every stitch around without any increases. Continue until the hat measures the body length listed for your size (not counting the brim you will add). For an adult S/M, aim for about 7 inches from the center of the crown to where the brim begins.
Try the hat on as you go. The body should sit above your ears when the brim is still unworked. If it already covers your ears, stop and move to the brim. If it feels short, keep going.
Tip: If you want a slightly different texture on the body, try working in the back loop only (blo) of each stitch. This creates a subtle ribbed effect with no extra steps.
Step 3 -- The Brim
The brim is simply more rounds of sc worked even, but many crocheters like to switch to a smaller hook here for a tighter, neater edge. Dropping down one hook size (for example, from 5 mm to 4.5 mm) gives the brim a crisper look and helps it hold its shape.
Work 3 to 4 rounds sc for a shallow brim, or 6 to 8 rounds for a deeper folded brim. For a folded brim, the last half will fold up on the outside of the hat, so it will be visible. In that case, consider working the fold section in the front loop only (flo) of each stitch, which creates a natural fold line.
Slip stitch (sl st) into the first stitch of the final round to close the round. Fasten off and leave a 6-inch tail for weaving in.
Step 4 -- Finishing
Thread your yarn needle with the tail and weave it through several stitches on the inside of the hat. Weave in and out through at least 4 to 5 stitches in different directions so it does not pull loose. Trim close. Do the same with the magic ring tail at the crown center.
Give the hat a gentle hand wash if the yarn allows it, then block it over a plate or balloon to help it hold a round shape as it dries.
Frequently Asked Questions
What yarn weight works best for a beginner crochet beanie?
Worsted weight is the most forgiving choice. The stitches are large enough to see clearly, the yarn moves quickly, and you can find it at almost any craft store. Bulky yarn works too and crochets up even faster, but you will need fewer stitches per round, so your stitch counts will differ from this guide.
My hat is coming out too tight or too loose. What should I do?
Tension is personal, and two people using the same hook and yarn can get very different results. If the hat is too tight, go up one hook size. If it is too loose and floppy, go down one hook size. This is exactly why a gauge swatch is worth the few extra minutes before you start the full hat.
Can I make this hat with yarn I already have at home?
Yes, with one check: look at the label for the recommended hook size and the gauge information. As long as you hit the same gauge (or adjust your stitch counts to match your actual gauge), you can use any fiber you like. Just make sure you have enough yardage. An adult beanie uses roughly 100 to 150 yards of worsted weight, and more for a larger or thicker hat.
How do I avoid a hole at the center of the crown?
Pull the magic ring tail firmly before you fasten off the ring. Then, when you weave in the tail at the end, pass the needle through the center stitches of Round 1 and cinch gently. If a small gap remains, you can thread the tail through the gap itself and draw it closed from the inside.
What other beginner projects can I try after this?
Once you are comfortable working in the round, the skills transfer well. Projects that use flat rows, like a beginner knit scarf, teach a different rhythm and are a good way to round out your toolkit. From there, washcloths, cowls, and simple garments all follow the same handful of techniques you have already practiced.