Crochet Basics
How to Crochet for Absolute Beginners: A Step-by-Step Guide
Learn to crochet from scratch: tools, your first slip knot, the chain, the single crochet stitch, and a tiny practice swatch, step by step.
Crochet is one of those crafts that looks complicated from the outside and turns out to be remarkably approachable once you hold a hook in your hand. You only ever work with one live loop at a time, which makes it far more forgiving than knitting for most beginners. This guide walks you through every step, from picking up the hook to completing a small practice swatch you can actually feel proud of.
What You Need Before You Start
You do not need much. For your first session, gather:
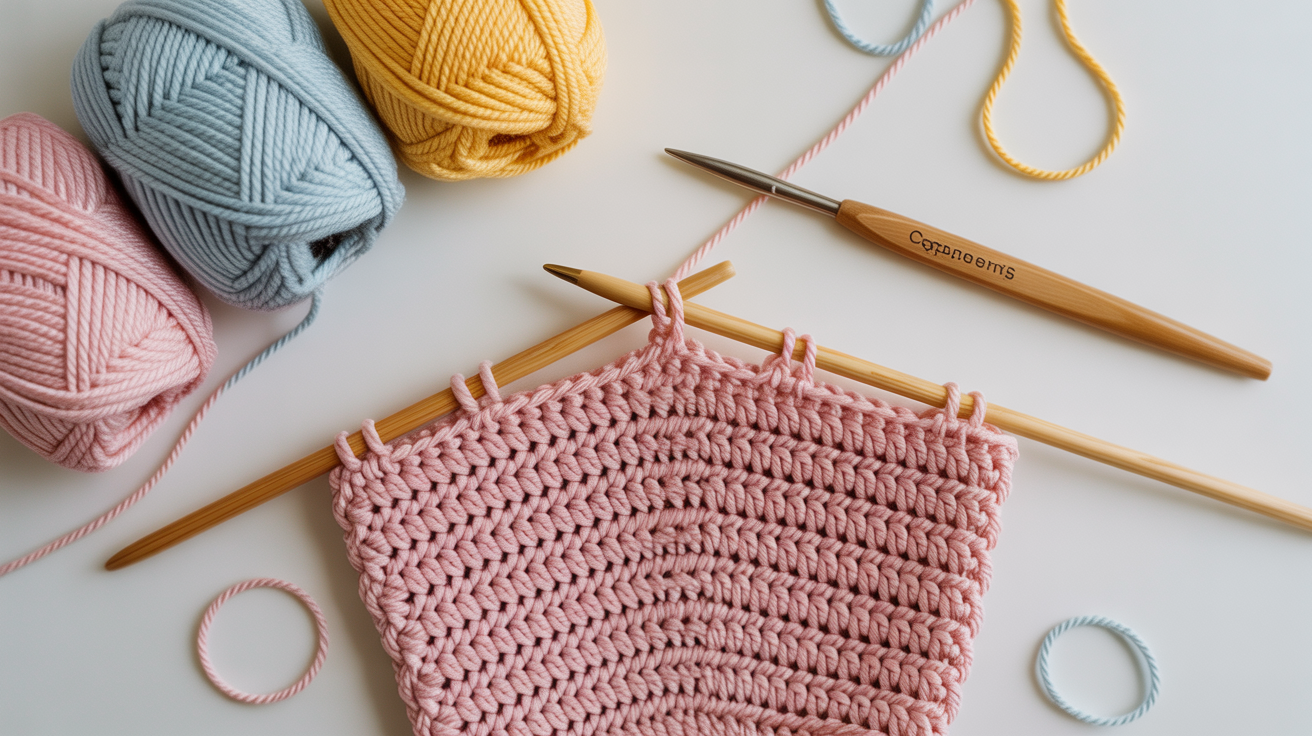
- A size 5.0 mm (H/8) crochet hook. A medium hook is the easiest size to control. Ergonomic handles are worth the few extra dollars if your hands tire easily.
- Worsted weight (size 4) yarn in a light, solid color. Light colors let you see each stitch clearly. Avoid fuzzy or highly textured yarn to start.
- Scissors and a yarn needle for weaving in ends later.
A quick note on US vs. UK terms. Crochet patterns use two naming systems, and they do not match up the way you might expect. A US "single crochet" (sc) is called a "double crochet" (dc) in UK patterns. Throughout this guide, all terms are US standard. If a pattern you find elsewhere feels off, check whether it lists "UK terms" at the top.
How to Hold the Hook and Yarn
Getting your grip comfortable is worth slowing down for. There is no single correct way, but these two holds cover most people:
Pencil grip: Hold the hook the way you would hold a pencil, with the flat thumb plate resting between your thumb and index finger.
Knife grip: Hold the hook overhand, with the handle resting in your palm and your thumb on the flat plate. Many crocheters find this grip faster once they get going.
Whichever grip you choose, the key is keeping your wrist relaxed. Tension travels up your arm when you clench. If something feels strained, loosen your fingers slightly before continuing.
Holding the yarn (tensioning). Your non-dominant hand controls how tightly yarn feeds to the hook. A simple method: drape the yarn over your index finger, under your middle and ring fingers, and catch it lightly with your pinky. Your index finger can then rise and fall to add or reduce tension. It feels awkward for the first five minutes and then becomes automatic.
Making a Slip Knot
Every crochet project starts with a slip knot. This is not a permanent knot, it slides and adjusts, which is exactly what you want.
- Hold the yarn tail in your left hand and drape the working yarn (the yarn connected to the ball) over your right index finger.
- Make a loop so the tail crosses over the working yarn.
- Reach through the loop and pull the working yarn (not the tail) up through it to form a new loop.
- Slide the new loop onto your hook and pull both ends gently until the loop sits snugly on the hook, not tight, just secure.
The loop on the hook should slide back and forth easily when you tug the working yarn. If it locks up, start over with slightly more give.
For a closer look at this step, see How to Make a Slip Knot and Foundation Chain.
Building Your Foundation Chain (ch)
The foundation chain is a row of interlocking loops that forms the base of almost every flat crochet project. Chain (ch) is the abbreviation you will see in patterns.
Step-by-step: making a chain
- Start with your slip knot on the hook.
- Hold the knot lightly between your left thumb and middle finger, keeping it from spinning as you work.
- Bring the working yarn over the hook from back to front. This motion is called a yarn over (yo).
- Pull the hook through the loop already on it. You now have one chain stitch and one loop remaining on the hook.
- Repeat steps 3 and 4.
That is it. Each repeat adds one chain stitch. For your practice swatch, chain 11. Count as you go: 10 chain stitches for the swatch width, plus 1 extra at the end (called the turning chain) that does not count as a stitch.
Counting chains correctly. Look at your chain from the front. You will see a row of V shapes. Each V is one chain stitch. Do not count the slip knot at the base, and do not count the loop on your hook.
Your tension will probably be uneven at first. Too tight and the hook struggles to enter each stitch; too loose and the chain looks sloppy. Both are normal and both improve quickly with practice. Aim for even rather than perfect.
The Single Crochet Stitch (sc)
The single crochet (sc), called a "double crochet" in UK patterns, is the most fundamental crochet stitch. It is short, dense, and easy to control, which makes it the ideal first stitch. Once you can single crochet, you can make dishcloths, bags, scarves, and the body of most beginner amigurumi.
For a dedicated deep-dive on this stitch alone, visit How to Single Crochet for Beginners.
How to work a single crochet row
Start with your 11-chain foundation from the previous section.
- Find the second chain from the hook. Skip the chain closest to your hook (that is your turning chain) and insert your hook into the next one.
- To insert the hook, push it under both top loops of the chain stitch. You will feel the hook slip through.
- Yarn over (bring the working yarn over the hook from back to front).
- Pull through the chain stitch. You now have two loops on your hook.
- Yarn over again.
- Pull through both loops. One loop remains on the hook. You have just made one single crochet stitch.
- Insert your hook into the next chain and repeat steps 3 through 6.
- Continue across all 10 chain stitches. At the end of the row, you should have 10 single crochet stitches.
Counting your stitches at the end of each row is a habit worth building now. Stitch count is how you catch mistakes before they compound.
Turning and Working Subsequent Rows
When you reach the end of a row, you need to turn the work and add a turning chain so the new row starts at the right height.
Turning your work
- After your last stitch, chain 1 (for single crochet, the turning chain is always 1). This chain brings the yarn up to the correct height.
- Rotate your work toward you (away from the hook) so the other side now faces up. The hook stays in the loop; you are just flipping the fabric.
- Insert the hook into the first stitch of the new row. For single crochet, the turning chain does NOT count as a stitch, so you work into the very first real stitch at the end of the row below.
- Work across, single crocheting into each stitch.
After a few rows, double-check your stitch count. Most beginners accidentally add stitches at the edges by working into the turning chain, or lose stitches by skipping the last stitch of a row. Both are easy fixes once you know to look.
Your First Practice Swatch
A swatch is just a small piece of fabric you make to practice a stitch and check your tension. It has zero pressure attached to it. You will unravel it or keep it as a reminder of where you started.
Making a 10-stitch, 8-row swatch
- Chain 11 (10 stitches + 1 turning chain), as described above.
- Row 1: Single crochet in the second chain from the hook and in each remaining chain across. (10 sc)
- Chain 1, turn.
- Row 2: Single crochet in each stitch across. (10 sc)
- Repeat step 4 for rows 3 through 8.
- After your last row, cut the yarn leaving a 6-inch tail. Pull the tail through the last loop on your hook and pull snug. This is called fastening off.
- Thread the tail onto a yarn needle and weave it through several stitches on the back of the fabric to secure it. Trim the excess.
Your finished swatch will be a small rectangle. It will not be perfect. The edges may wave, and some stitches will look looser than others. That is completely normal for the first attempt, or the fifth. Tension evens out with repetition.
Once you have the single crochet comfortable, How to Double Crochet for Beginners is a natural next step. The double crochet (dc) is twice as tall as the sc and works up much faster, which makes it ideal for blankets and larger projects.
Common Abbreviations at a Glance
Most patterns use shorthand. Here are the ones you have already encountered in this guide, plus a few you will see immediately in beginner patterns.
| Abbreviation | US Term | UK Equivalent |
|---|---|---|
| ch | chain | chain |
| sc | single crochet | double crochet |
| dc | double crochet | treble crochet |
| yo | yarn over | yarn over (yoh) |
| sl st | slip stitch | slip stitch |
| st | stitch | stitch |
| rep | repeat | repeat |
| sk | skip | miss |
| RS / WS | right side / wrong side | right side / wrong side |
Save or bookmark this table. You will refer back to it more than you expect during your first few weeks.
Frequently Asked Questions
How long does it take to learn to crochet?
Most beginners can make a clean chain and a recognizable row of single crochets within one or two sessions. Getting comfortable with consistent tension and turning correctly usually takes a week or two of casual practice, maybe 20 to 30 minutes a few times a week. You do not need long sessions; short, regular ones build muscle memory faster.
What is the easiest first crochet project after a swatch?
A dishcloth or a simple scarf. Both are worked in straight rows with a single stitch, so you practice the same motions repeatedly without worrying about shaping. A dishcloth is especially satisfying because it is small, useful, and finished quickly.
Why does my chain curl or twist?
Curling usually means your tension is too tight. Try loosening your grip on the yarn and allowing a bit more slack as you pull through each stitch. Twisting often happens when the work spins on the hook, hold the base of your chain between your thumb and finger rather than letting it dangle.
Do I have to use the exact hook size listed in a pattern?
For practice swatches and casual projects, no. Hook size affects how large each stitch is, which changes the finished dimensions. For anything that needs to fit (a hat, a garment), matching gauge is important. For a dishcloth or a throw blanket, a size up or down mostly just changes the drape and density.
What does "work in both loops" mean?
Each stitch has two loops on top when viewed from above: a front loop (the one closer to you) and a back loop (the one farther away). Unless a pattern says otherwise, insert your hook under both loops. "Front loop only" (FLO) and "back loop only" (BLO) are special instructions that create texture and are always called out explicitly.