Projects & Patterns
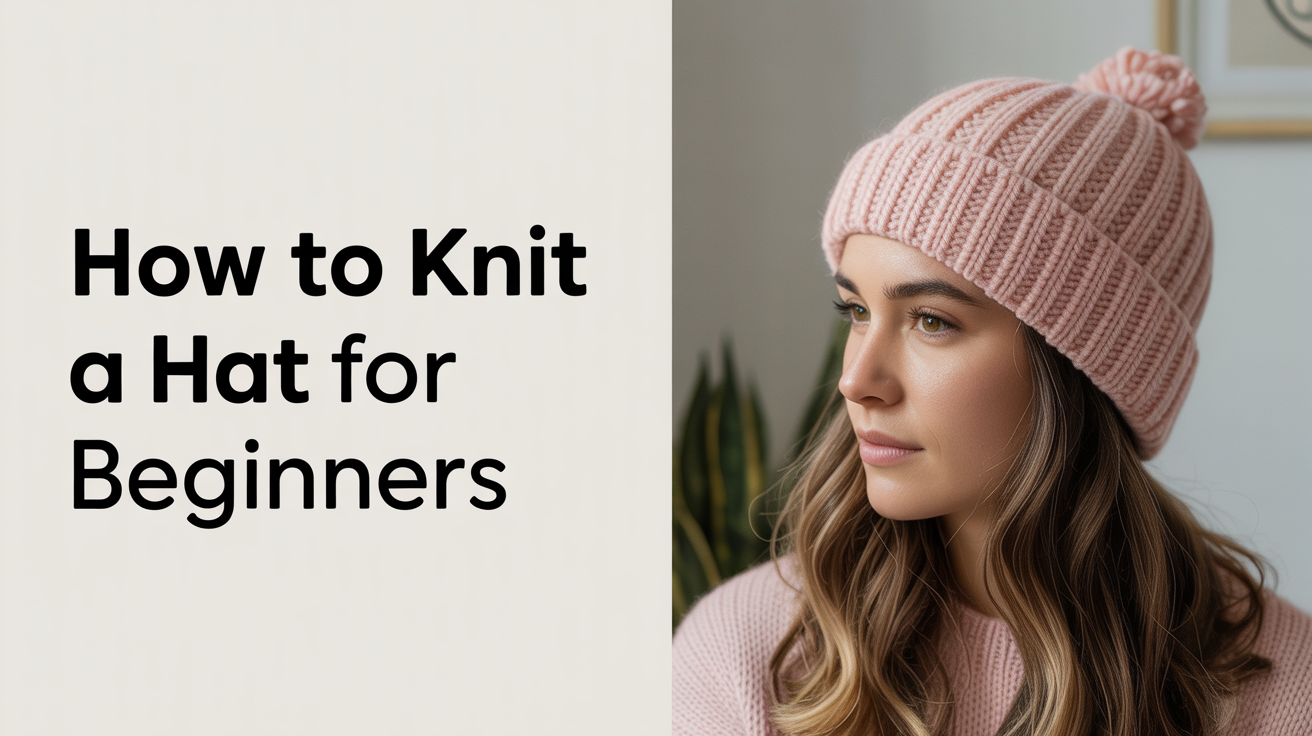
How to Knit a Hat for Beginners
Learn how to knit a hat with this beginner-friendly guide. Covers materials, gauge, step-by-step instructions, and tips for a hat that actually fits.
Knitting a hat is one of the best second or third projects for a new knitter. It is small enough to finish in a weekend, useful enough to wear or give, and it teaches skills that carry into almost every project you will knit after it. If you can cast on, knit, and purl, you already have what you need to get started.
This guide walks through a simple, easy hat knitting pattern worked flat and seamed at the back, so you can use straight needles rather than circular ones. If you later want to try knitting in the round, the skills below transfer directly.
What You Need
Before you cast on, gather your materials and check your gauge (how many stitches and rows equal one inch of knitting). Getting gauge right is how a beginner knit hat ends up fitting like a hat and not a sleeve.
Materials list:
| Item | Suggested spec |
|---|---|
| Yarn | Worsted weight (weight 4), 100-150 yards |
| Needles | US size 7 or 8 (4.5-5 mm) straight needles |
| Tapestry needle | For seaming |
| Scissors | Any pair |
| Measuring tape | For gauge and finished size |
Gauge swatch: Cast on 20 stitches and work in stockinette stitch (knit on right side rows, purl on wrong side rows) for about 4 inches. Bind off and lay flat. Measure a 4-inch square in the center, away from the edges. For this pattern you want roughly 18 stitches and 24 rows per 4 inches on US 7 needles, though worsted yarns can vary. If your swatch has more stitches than that, go up a needle size. If it has fewer, go down a size. This step takes ten minutes and saves you from knitting a hat that fits your cat.
For a standard adult hat, you are aiming for a finished circumference of about 20-21 inches. Hats are worn with slight negative ease (a bit smaller than the head) so they stay on.
How to Knit a Hat Step by Step
This is a top-down flat construction pattern. You start with a narrow piece and decrease at the crown end. Knitting a beanie for beginners this way means you can check your work on regular straight needles the whole time.
Finished dimensions (adult medium): Approx. 10 inches tall x 21 inches around (after seaming).
- Cast on 96 stitches using a long-tail cast on or your preferred method. This gives you a brim that stretches to fit most adult heads at worsted gauge.
- Work the ribbed brim. Knit 2, purl 2 (K2, P2 rib) across every row for 8 rows. Ribbing is stretchy and hugs the head so the hat stays in place. K means knit; P means purl.
- Switch to stockinette. Knit all stitches on right-side rows and purl all stitches on wrong-side rows. Continue until the piece measures about 7 inches from the cast-on edge.
- Begin crown decreases. On the next right-side row: K8, K2tog (knit two together), repeat from * to * to end. K2tog is a simple right-leaning decrease: insert the needle into two stitches at once and knit them as one. You will have 86 stitches.
- Work one wrong-side row plain (purl all stitches).
- Second decrease row: K7, K2tog, repeat to end. 76 stitches remain.
- Continue the pattern. Alternate one purl row with one decrease row, reducing the knit stitches between decreases by one each time: K6/K2tog, K5/K2tog, and so on.
- Final rows. When you reach K1/K2tog across, you will have about 10 stitches left. Cut the yarn, leaving a 12-inch tail.
- Close the crown. Thread the tail onto your tapestry needle. Pass it through all remaining stitches on the knitting needle, slipping them off as you go. Pull the yarn snug to close the top of the hat, then knot the tail on the inside.
- Seam the back. Fold the piece so the two short edges meet. Use a mattress stitch (running the tapestry needle up through the bars between edge stitches on each side, alternating back and forth) to join the seam invisibly. Weave in all ends.
Reading the Pattern Symbols
If this is the first time you have seen abbreviations like K2tog or K2P2, do not worry. Most knitting abbreviations follow a short list of conventions. How to read a knitting or crochet pattern for beginners covers the most common ones in detail, including how stitch counts and repeats are written.
A few key ones used here:
- K = knit
- P = purl
- K2tog = knit two together (decrease by one stitch)
- * ... * = repeat the instructions between asterisks
When a row says "repeat from * to end," that means you work the bracketed group of stitches until you run out of stitches on your needle.
Fitting and Sizing Adjustments
Hat circumference is easy to adjust. The pattern above gives 96 stitches; for K2P2 rib to work out evenly, keep your stitch count as a multiple of 4.
- Child size (18-inch circumference): Cast on 80 stitches.
- Adult small (20-inch): Cast on 88 stitches.
- Adult medium/large (21-22 inch): Cast on 96-104 stitches.
For hat height, just knit more or fewer stockinette rows before you start decreasing. A shorter brim and shorter body gives a slouchy beanie look; a longer body gives a classic fold-up style.
If you have knitted a scarf before and want a side-by-side comparison of how flat knitting translates to a wearable garment, how to knit a scarf for beginners goes through the same cast-on, stockinette, and bind-off steps in a no-shaping context, which can help you see how the basics stack.
Finishing and Care
Once your hat is seamed, try it on before weaving in any ends. If the brim rolls forward, your ribbing may need more rows, or you can fold the brim up and tack it in place with a few stitches. A rolling brim on stockinette is normal and can even be a design choice.
To block your hat (a step worth doing with any natural fiber yarn), soak it in cool water for 15 minutes, gently squeeze out the excess water without wringing, then shape it over a balloon or a round object close to the finished size. Let it dry flat. Blocking evens out the stitches and helps the seam lie flat.
For care going forward, check your yarn label. Most superwash wool hats can go in the washing machine on a gentle, cold cycle. Non-superwash wool and plant fibers like cotton are usually hand-wash only.
Frequently Asked Questions
Do I need circular needles to knit a hat? No. This pattern uses straight needles and seams the back edge. Circular needles let you knit a hat in the round with no seam, which is a technique worth learning eventually, but straight needles work fine for a first hat.
What is the best yarn for a beginner knit hat? A smooth worsted-weight yarn in a light or medium color makes it easiest to see your stitches. Avoid fuzzy or textured yarns for your first hat because they hide the stitches and make it hard to spot mistakes. Acrylic yarns are forgiving and machine-washable.
My hat is too big or too small. What went wrong? Most fit issues come from skipping the gauge swatch. If the hat is too big, your gauge has fewer stitches per inch than the pattern expects, so try again with a smaller needle. If it is too small, your gauge has more stitches per inch, so try a larger needle.
Can I use this same approach for a crochet project? The overall project logic (small, flat piece, joined at the end) works in crochet too. If you want a similar intro-level crochet project to compare the two crafts, how to crochet a dishcloth, an easy first project is a good starting point.
How long will it take to knit a hat? At a relaxed beginner pace, expect 6-10 hours spread across a few sessions. The brim goes slower while you get used to the K2P2 rib, but the stockinette body moves quickly once you hit your stride.