Stitches & Techniques
How to Seam Knitting and Crochet Pieces Together
Learn the mattress stitch for knitting and whip stitch or slip-stitch join for crochet. Step-by-step seaming guide for beginners who want invisible seams.
Finishing a knitted or crocheted piece feels great until you realize the project needs to be assembled from several flat panels. Seaming is the skill that bridges that gap, and it is not as difficult as it looks. Once you know two or three basic methods, you can join the shoulders on a simple sweater, close the sides of a bag, or attach the head to a stuffed animal without the joins showing on the right side.
This guide covers the three most useful seams for beginners: the mattress stitch for knitted stockinette, and the whip stitch and slip-stitch join for crochet. You will also find tips on matching row counts, hiding yarn tails neatly, and picking the right method for each situation.
Tools and Setup
You do not need special equipment to get started. Gather:
- A blunt tapestry needle (also called a yarn needle or darning needle). The rounded tip lets you slide between stitches without splitting the plies.
- A length of the same yarn you used for the project, or a smooth yarn in a matching weight and color if your project yarn is too thick or fuzzy to thread easily.
- Scissors and the two finished pieces laid flat in front of you.
Before you seam, consider blocking your pieces. Blocking relaxes the stitches and straightens the edges so they are much easier to read and count. See what is blocking and how do you block your projects for the full process. Once the pieces are dry, lay them side by side on a flat surface and pin or clip the corners so they do not shift while you work.
One practical habit: leave a long tail when you cast on or fasten off each piece. About 18 inches (45 cm) gives you enough yarn to seam a standard panel without needing to join a new length mid-seam.
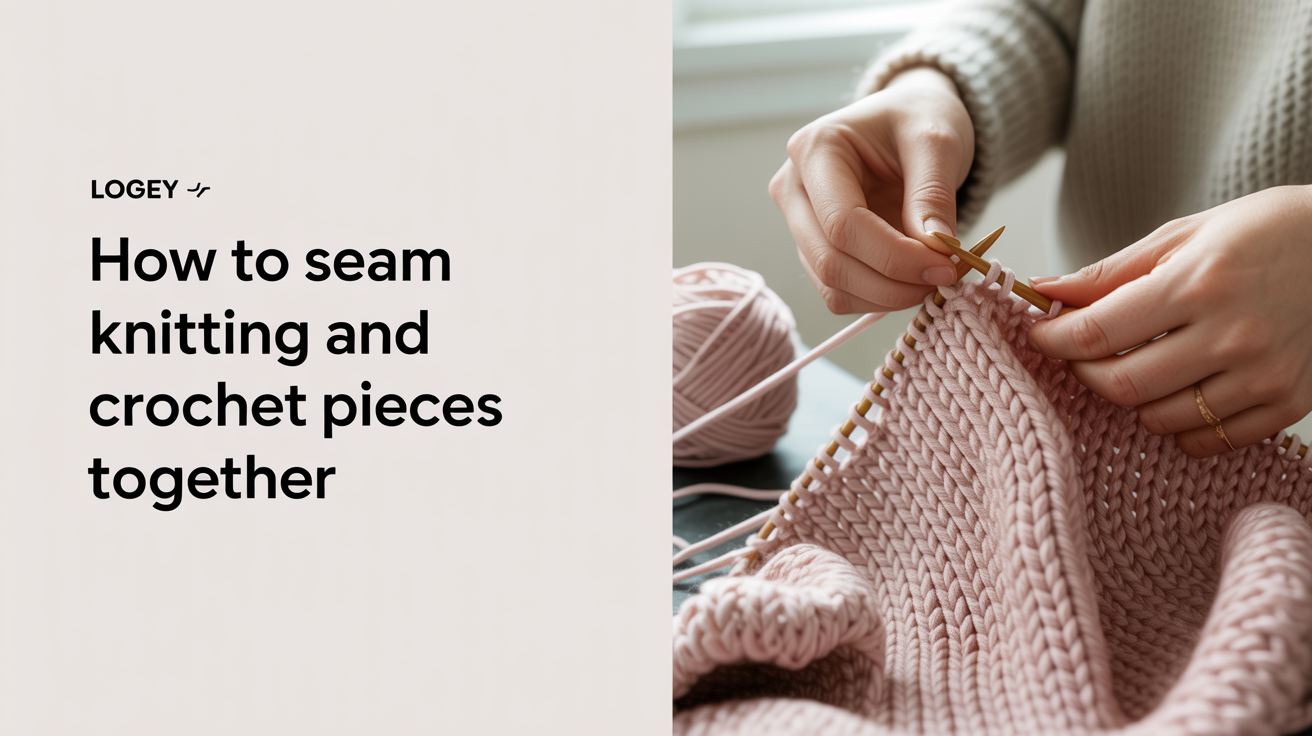
Mattress Stitch for Knitting
The mattress stitch is the standard method for joining two pieces of stockinette knitting along their vertical (side) edges. Worked correctly, it produces a seam you can barely see from the right side.
- Place both pieces right-side up on your work surface, with the edges you want to join side by side.
- Thread your tapestry needle with the seaming yarn. Anchor the end by running it through the corner stitch of one piece, leaving a 4-inch tail to weave in later.
- Look at the edge stitches. You will see a column of short horizontal bars running between the last real stitch and the very edge of each piece. Those bars are your landmarks.
- Insert the needle under the first bar on the left piece, then under the corresponding bar on the right piece. Pull the yarn through but leave it loose for now.
- Move up one row. Insert the needle under the next bar on the left piece, then the next bar on the right piece.
- After every four or five bars, gently pull the seaming yarn snug. The two pieces will zip together and the seam will nearly disappear into the fabric.
- Continue bar by bar until you reach the top. Fasten off and weave in the tail.
Matching row counts: Count the bars on each piece before you start. If the counts match, work one seam stitch per row all the way across. If one piece has a few extra rows, plan to pick up two bars at once on the longer piece in two or three spots spread evenly along the seam. That eases in the difference without creating a pucker.
For pieces worked in the round, you often avoid seaming entirely. See how to knit in the round for beginners for context on when seamless construction makes more sense than flat panels.
Joining Crochet Pieces: Whip Stitch and Slip-Stitch Join
Crochet fabric has a different structure from knitting, so it calls for different joins. The two most common ones for beginners are the whip stitch and the slip-stitch join.
Whip Stitch
The whip stitch is quick, uses only a tapestry needle, and works on any crochet edge. It leaves a small ridge on the wrong side, which is fine for seams hidden inside a bag, a pouch, or along the base of a stuffed animal.
- Hold both pieces with wrong sides together and edges aligned.
- Thread the tapestry needle and insert it through the outer loop of the corner stitch on both layers to anchor the yarn.
- Bring the needle over the top edge and insert it through the next pair of stitches (one from each piece), from front to back.
- Repeat along the edge, keeping the tension even: one stitch on each piece per pass.
- Fasten off and weave in the tail.
Slip-Stitch Join
The slip-stitch join uses your crochet hook instead of a tapestry needle and produces a sturdy seam with a chain of stitches along the edge. If you work it with wrong sides together, that chain appears on the outside and can look like a planned design detail.
- Hold both pieces with the sides facing as you want the finished seam to sit (right sides together for a hidden seam, wrong sides together for a visible one).
- Insert your hook through the matching stitches on both layers.
- Draw up the seaming yarn and make a slip stitch (yarn over, pull through all loops on the hook).
- Insert the hook through the next pair of stitches and make another slip stitch. Continue across the edge.
- Fasten off and weave in the tail.
The slip-stitch join is especially handy for joining crochet squares, because the stitches line up cleanly and the seam stays flat.
Hiding Yarn Tails Properly
Tails that are only knotted or tucked under one strand will work loose with washing and wear. Here is a more reliable method:
- Thread the tail onto your tapestry needle.
- Weave it back and forth through the seam allowance on the wrong side for about one inch, angling the needle slightly each pass.
- Turn and weave back in the opposite direction for another half inch. This cross-weave locks the tail without a knot.
- Trim close to the fabric.
The same technique applies every time you change yarn during a project. See how to join a new ball of yarn in knitting for guidance on weaving in ends neatly mid-row as well.
Seaming Methods at a Glance
| Method | Best for | Tool needed | Seam on right side |
|---|---|---|---|
| Mattress stitch | Knitted vertical edges (stockinette) | Tapestry needle | Nearly invisible |
| Whip stitch | Crochet edges, any direction | Tapestry needle | Visible ridge on wrong side only |
| Slip-stitch join | Crochet edges, squares | Crochet hook | Decorative chain (can be hidden or shown) |
Once you are comfortable with all three, you can assemble the majority of beginner projects. If you are looking for a first project that puts these skills to work, easy knitting projects for absolute beginners includes flat panels that are good candidates for practicing a mattress stitch seam.
Frequently Asked Questions
Do I need to seam with the same yarn I used to knit or crochet the project?
Most of the time, yes. Matching yarn blends into the stitches around it and becomes invisible. The exception is when your project yarn is very bulky, highly textured, or so fuzzy it is hard to pull through stitches. In that case, substitute a smooth yarn in the same color and a similar weight. The seam will still be secure and difficult to spot.
My mattress stitch is leaving a visible ridge. What went wrong?
The most common cause is pulling the seaming yarn too tight too soon. Try leaving several bars loose before you tighten, then pull gently rather than firmly. Also check that you are picking up only the bar between stitches and not scooping up a whole edge stitch. Grabbing the full stitch adds extra bulk and creates a ridge.
Can I use the mattress stitch on garter stitch fabric, not just stockinette?
Yes, with a small adjustment. In garter stitch, pick up the bottom loop of the upper ridge on one piece and the top loop of the lower ridge on the other, alternating between the two pieces. It takes a little practice to read the ridges, but the result lies flat and looks clean.
Should I seam before or after blocking?
Block individual pieces first, then seam. Blocked edges are easier to count and align, and pre-blocked fabric sits flat without distortion. If you block after seaming, the extra thickness at the seam can end up a different shape from the rest of the project.
What if I run out of seaming yarn before I finish the seam?
Join a new length by overlapping the old tail and the new end along the seam allowance on the wrong side for about an inch, then continue seaming with the new strand. When you finish, weave both short tails into the seam allowance separately so neither tail can pull through.